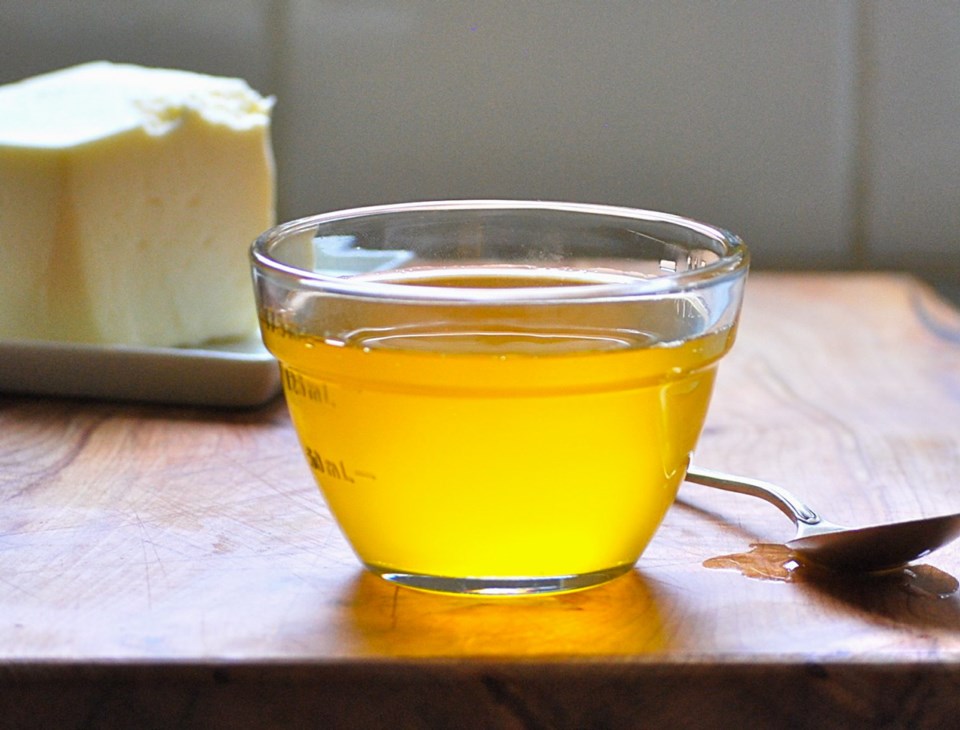
A reader, Nancy, asked me questions about clarifying butter. I decided to answer them in my column so anyone who is interested can learn about the process, including if certain butters work better than others.
According to the Dairy Farmers of sa���ʴ�ý website, , government regulations dictate that in sa���ʴ�ý, butter must contain at least 80 per cent fat, about 16 per cent water and three per cent milk solids, a mix of such things as minerals, protein and lactose (sugar).
If you put butter in a pan that’s too hot for even a moment too long, those milk solids will begin to smoke and burn.
It’s for that reason that some chefs and home cooks who like to cook with butter will clarify it first, a technique that removes milk solids. Doing that increases the butter’s smoke point — the point at which it begins to burn — from, depending on the source, about 350 F to about 400 F to 450 F.
With a higher smoke point, clarified butter can be used as you would cooking oils with a similar smoke point, for such things as pan-frying and sautéing steaks, fish, eggs and vegetables.
Clarified butter is also commonly used in hollandaise sauce, and as a rich dip for seafood, such as lobster. It’s also really divine to drizzle on hot popcorn, steamed vegetables or anything else needing a hit of warm, golden, clear butter.
Today, I’ve provided a step-by-step guide on making clarified butter. When you’re done making it, the leftover whey and milk solids could be kept together in a jar in the refrigerator, and used to flavour such things as mashed potatoes, bread dough, polenta, rice or even oatmeal.
You can make clarified butter with salted butter, but most culinary guides suggest using unsalted butter, for a purer taste. The salt in salted butter could also concentrate when you clarify it.
I clarified five types of unsalted butter I saw at several grocery stores to see if they all reacted the same. They included the more moderately priced Fraser Valley, Natrel and Lactantia brands, and the pricier Liberté organic and Temiskaming Valley brands.
I successfully clarified all of them, but the results for some were less appealing.
For example, the Fraser Valley brand, which the label says had food colouring in it, was quite pale, which made it look more like oil, not golden butter.
The Lactantia brand looked cloudy and as if it was curdling most of the time I was clarifying it, but it did eventually become clarified. I’m guessing it might have reacted that way because, unlike the other butters, it’s a cultured butter, made from cream that is cultured with active bacteria similar to yogurt, giving it a distinctive, slightly tangy taste.
The Natrel brand, like the Lactantia brand, looked cloudy and as if it was curdling when I was clarifying it and took the longest to clarify. When it was ready and I had drained away the clarified butter, there were quite a bit more milk solids left than with the other brands I tested. That meant I ended up with less clarified butter than I did with the other butters.
The Liberté and Temiskaming Valley brands made the best clarified butter in terms of yield, colour and taste. That was not surprising for the latter brand, as it won first place in the butter competition during last year’s Royal Agricultural Winter Fair in Toronto.
How to make clarified butter
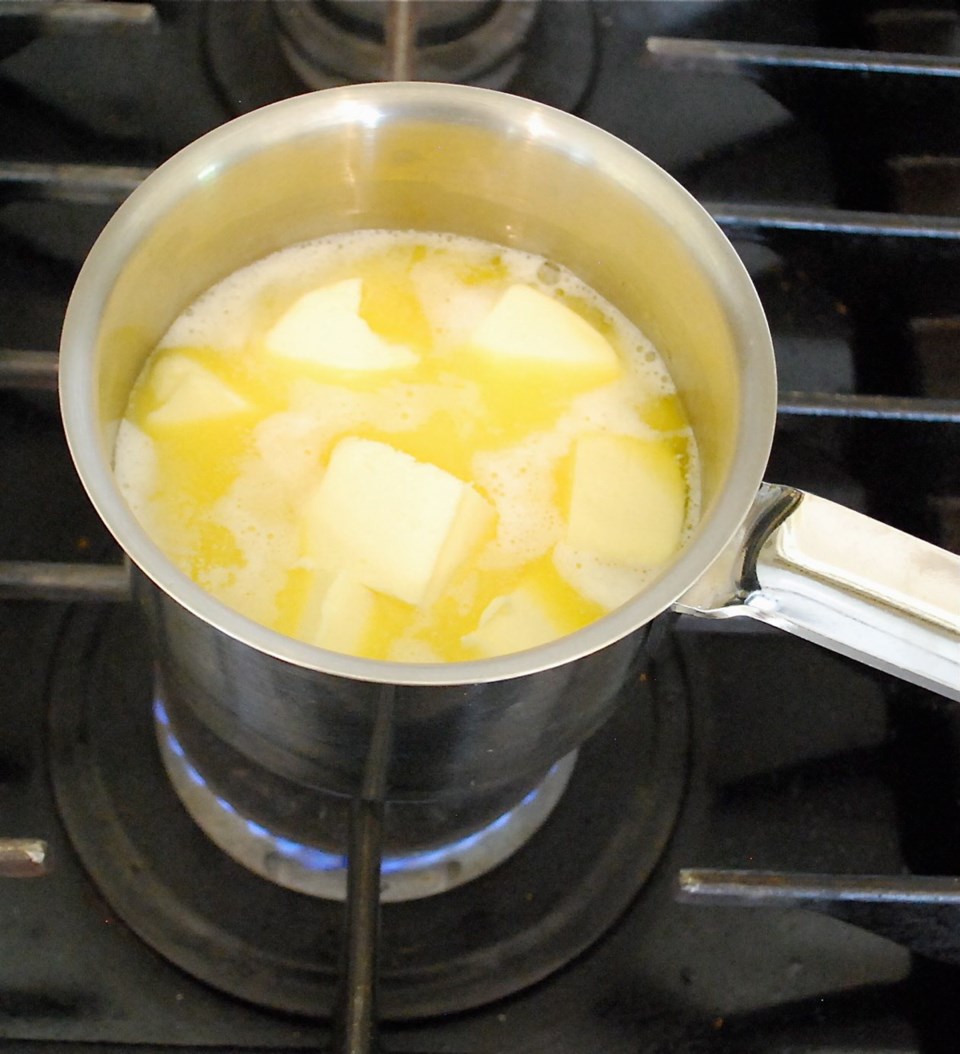
Step 1: Cut one pound (454 grams) butter into 16 cubes and set in a small- to medium-sized pot. Set pot over low to medium-low heat and start to melt the butter.
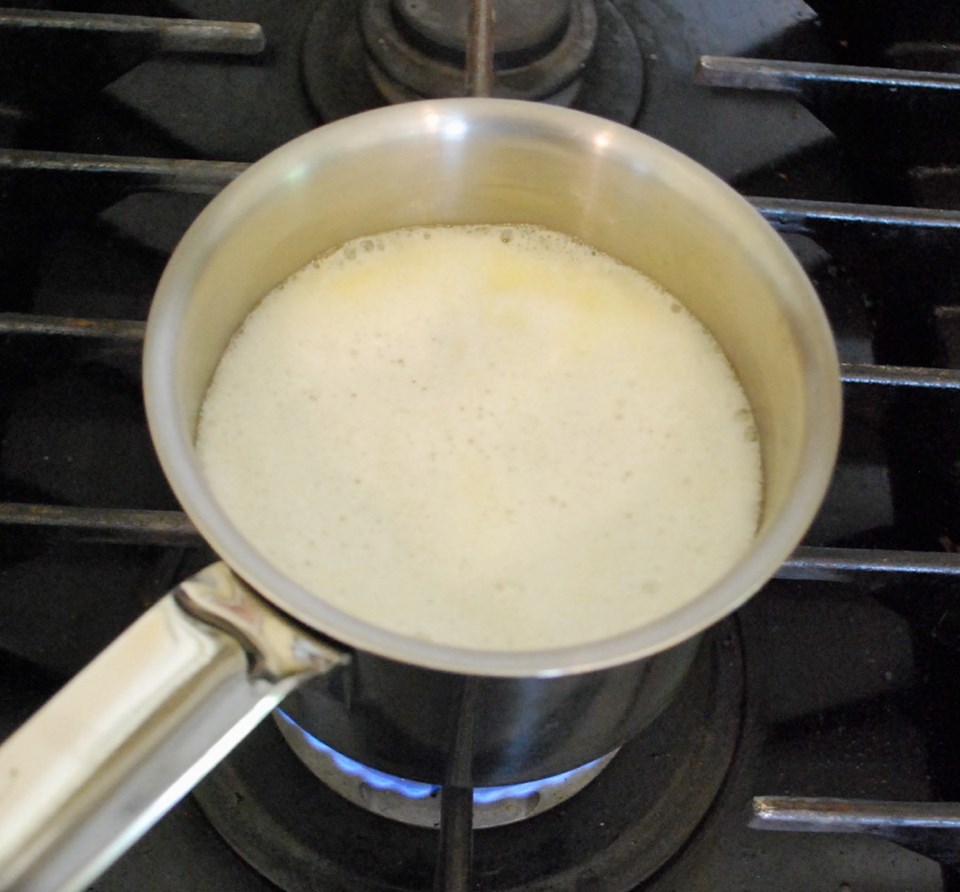
Step 2: When melted and butter starts to gently bubble, adjust the heat as needed to keep it gently bubbling (you don’t want it rapidly doing so). As the butter bubbles, foam, the whey in the butter, will rise to surface. When a good amount of foam has risen, use a soup spoon to carefully skim it off so that you can see how the butter below is clarifying. Keep heating the butter until it starts to look clear, no more foams appears to be rising from it, and it is no longer making any gurgling/spluttering sounds. This should take about 15 to 20 minutes from the time the butter started bubbling.
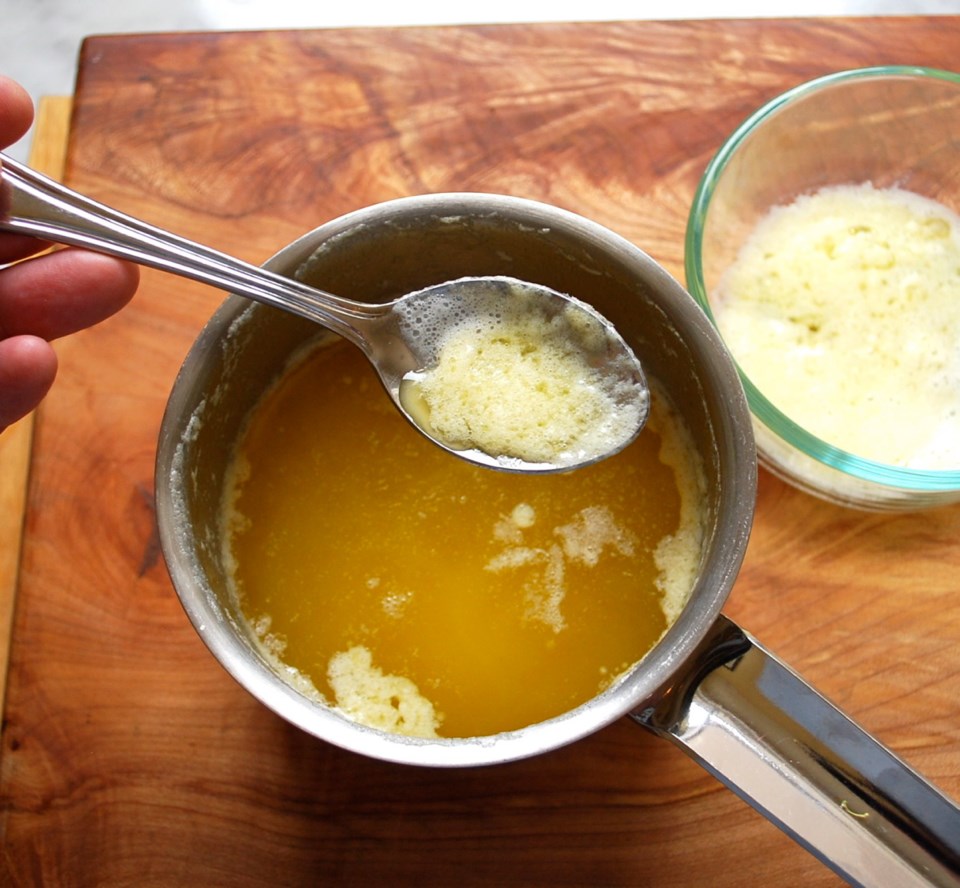
Step 3: Remove pot from the heat. Skim the remaining foam off the surface of the butter. Don’t worry if you don’t get all of it, as you’ll strain it away in the next step. Let butter sit a few minutes to ensure the milk solids sink to the bottom of the pot.
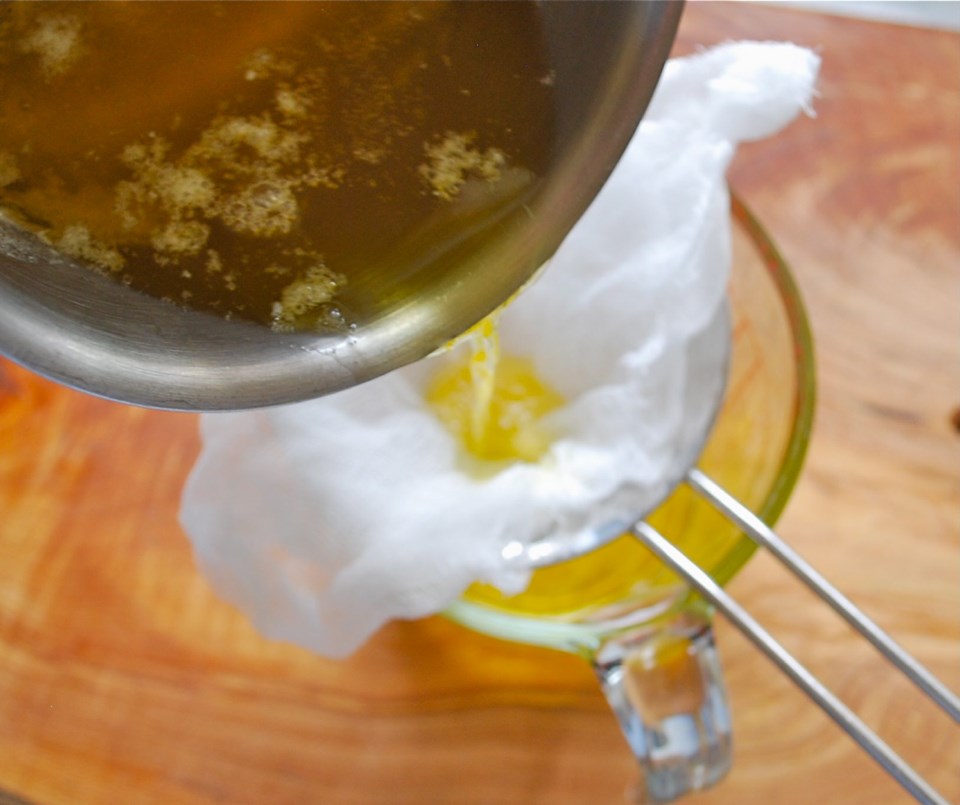
Step 4: Line a fine sieve with two layers of cheesecloth and set over a two-cup, glass-measuring cup. Carefully pour butter through the sieve, stopping when you reach the milky solids in the bottom of the pot. Pour and divide the butter between two suitably sized clean jars that have tight-sealing lids. Let butter cool to room temperature. Seal the jars and keep butter refrigerated until needed. It should keep at least a month. It can also be frozen.
Eric Akis is the author of eight cookbooks. His columns appear in the Life section Wednesday and Sunday.
